


Understanding Flex Banners and Their Importance
Flex banners are a versatile form of large-format printing that has gained immense popularity in advertising and promotions. Typically made from a durable PVC material, these banners can withstand various weather conditions, making them suitable for both indoor and outdoor use. One of the key features of flex banners is their ability to display vibrant colors, which makes them visually appealing and effective in capturing the attention of potential customers.
The applications of flex banners are numerous. They are commonly used in trade shows, retail displays, corporate events, and even as backdrops for concerts or festivals. Their large size allows for maximum visibility, which is crucial in crowded environments where businesses aim to stand out. Moreover, flexibility in design means that organizations can tailor their banners to fit specific themes or brands, making them a vital tool in marketing strategies.
Businesses are increasingly recognizing the advantages of using flex banners. Their lightweight nature makes them easy to transport and install, while the cost-effectiveness compared to other advertising mediums such as billboards enhances their appeal. Flex banners are not just budget-friendly; they also have a long lifespan, ensuring that companies receive a substantial return on their investment over time.
Successful marketing campaigns often incorporate flex banners as a central component. For instance, a major retail chain might employ vibrant, eye-catching flex banners during seasonal sales to draw customers in from afar, resulting in increased foot traffic. Similarly, local events, such as community fairs or sports tournaments, often rely on flex banners to promote sponsors and create an engaging atmosphere. In short, flex banners are indispensable to modern advertising, serving not only as a medium of communication but also as a powerful marketing tool that resonates with audiences. Their effectiveness is undeniably witnessed across various sectors where visibility and message clarity are paramount.
Getting Started with CorelDRAW: Setting Up Your CDR File
CorelDRAW is a leading graphic design software that offers a wide array of tools for creating visually stunning designs, particularly CDR files which are essential for flex banner design. To kick off your design project, it is essential to establish a solid foundation by correctly setting up your new file in CorelDRAW.
The first step involves launching CorelDRAW and selecting the ‘New Document’ option. Here, you will be prompted to specify the dimensions of your flex banner. It is crucial to choose dimensions that align with the intended display size, ensuring that your design fits perfectly without distortion. Consider the standard sizes for flex banners, such as 3×1 meters or 2×5 meters, but feel free to customize these dimensions based on your specific needs.
Resolution is another critical factor to consider in your initial setup. For print projects like flex banners, a resolution of 300 DPI is typically recommended. This setting allows for sharper and clearer images, enhancing the overall quality of your final output. When you navigate to the resolution settings, ensure that you select ‘Print’ as the mode to achieve the best results for your design.
Color settings play a significant role in flex banner design. Opt for the CMYK color mode, as it is best suited for printing. This choice will help ensure that the colors you choose in your digital design closely match those produced in the printed banner. To enhance your workflow, consider customizing your workspace. Use the ‘Workspace’ menu to select a layout that suits your design preferences, whether you prefer a more visual layout with panels or a minimalistic one focused on your canvas.
By following these initial steps in CorelDRAW, you will establish a well-organized and effective environment for your flex banner design. This foundation is essential to achieving a polished and professional final product.
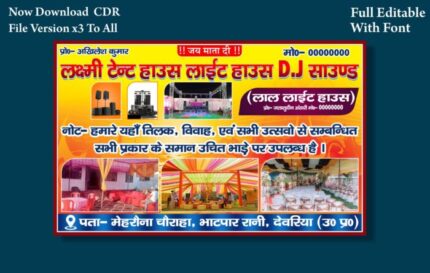
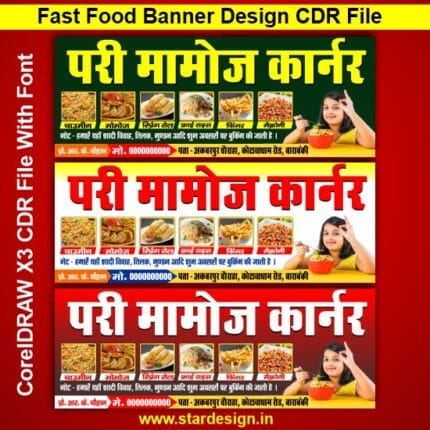
Flex Banner Design cdr file
Key Design Elements for an Effective Flex Banner
When crafting an effective flex banner, several key design elements are fundamental to ensure it captures attention and conveys the intended message. One of the most significant aspects is typography selection. The choice of fonts should align with your brand’s identity, while also ensuring readability from a distance. Bold, sans-serif fonts are often a preferred choice due to their clarity and impact. It’s crucial to limit the number of font styles used; typically, two or three complementary fonts can create a harmonious visual while maintaining legibility.
Color theory plays a vital role in flex banner design as well. Colors evoke emotions and can influence how a message is perceived. Utilizing a color palette that resonates with your brand and target audience enhances the overall effectiveness of the banner. High-contrast combinations can help important elements stand out, while keeping a balanced aesthetic that prevents overwhelming the viewer’s eye. Bright, vibrant colors may draw attention, but it is essential to use them wisely to maintain professionalism and cohesion.
Imagery and graphics placement are equally important. The visuals should not only complement the text but also enhance the overall design. High-quality images that are relevant to the message can create a stronger connection with the audience. Furthermore, placing key graphics strategically can facilitate a smooth visual flow, guiding the viewer’s attention to the most critical information.
Additionally, white space should not be underestimated. Empty space can help prevent clutter, allowing important elements to breathe and improving overall readability. Finally, a compelling message that resonates quickly with the audience is essential for engagement. Employing strong calls-to-action can further motivate the viewer to respond, enhancing the effectiveness of your flex banner and driving desired outcomes. By integrating these elements thoughtfully, you can create a flex banner that not only stands out but also successfully communicates your message.
Exporting Your Design: Best Practices for CDR Files
When it comes to exporting flex banner designs from CorelDRAW, understanding the various file formats available is crucial for achieving the best results. CorelDRAW allows you to export your designs in several formats, including PDF, EPS, JPG, and PNG, each with its own set of advantages and disadvantages. For example, PDF is a widely recommended format for printing because it preserves vector graphics and ensures high-quality outputs. This format is especially beneficial for complex designs as it maintains the integrity of text and images, making it a preferred choice among professionals.
On the other hand, raster formats like JPG or PNG are suitable for web use or for simpler banner designs. However, it is essential to note that these formats can result in a loss of quality when resized. Therefore, it is generally advisable to use these formats sparingly in your printing workflow. As such, opting for vector formats such as PDF or EPS tends to be a more compatible choice for flex banner printing.
Preparation is key when it comes to ensuring that your design is print-ready. One major aspect to focus on is color accuracy. It is critical to convert your color settings to CMYK before exporting, as this color mode aligns better with printers’ capabilities, preventing unexpected color outputs. Additionally, ensuring that your resolution is set to at least 300 DPI (dots per inch) is vital to maintain clarity and detail in the printed materials.
Finally, understanding bleed and crop marks is essential for avoiding printing errors. The bleed is the area that extends beyond the final trim size, which allows for any misalignment during cutting. By incorporating a proper bleed, you can ensure that your design looks polished and professional. Remember to include crop marks as well, as they serve as guides for the cutting process, allowing for accurate finishing of your flex banners.
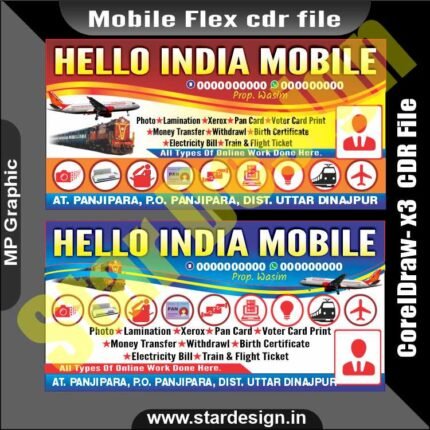
Flex Banner Design cdr file
Common Mistakes and Troubleshooting Tips
Designing flex banners using CDR files can be a straightforward process, but various pitfalls can compromise the quality of the final product. One common mistake involves improper scaling of elements within the design. When an image or graphic is resized without maintaining its original aspect ratio, it can lead to distortion. To avoid this, always use the locking feature in your design software to ensure that scaling is proportional. This practice not only preserves the integrity of your graphics but also yields a more professional appearance upon printing.
Another frequently encountered issue is color mismatches between the digital design and the printed output. This discrepancy often occurs due to differences in color profiles and the printing process. To mitigate this problem, it is crucial to work in the appropriate color mode (CMYK) when creating your flex banner in CDR files. Furthermore, conducting test prints on similar materials can help ensure color accuracy before the final print run.
Text readability is yet another concern in flex banner design. Often, designers may use fonts that are too small or overly ornate, which can hinder visibility from a distance. To enhance legibility, it is advisable to choose simple, bold typefaces and ensure that text size is appropriate for the viewing distance. Moreover, utilizing contrasting colors for text and backgrounds significantly improves readability. Proper spacing between letters and lines can further enhance the overall clarity of the banner.
In addressing these common mistakes, keep in mind that a thorough review of your flex banner design can save time and resources in the long run. Ensure that you check for these potential issues before proceeding to print, ultimately leading to a polished final product that meets your expectations.
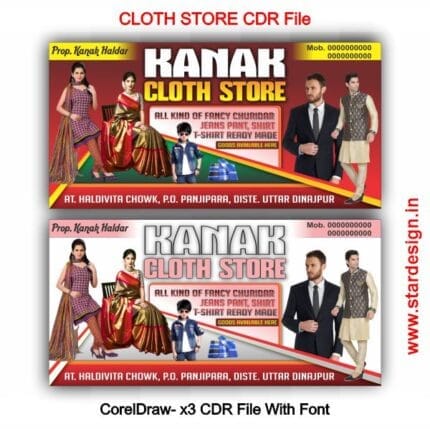
Flex Banner Design cdr file


Brianbub –
пин ап вход: пин ап зеркало – пин ап зеркало
Brianbub –
вавада: vavada – vavada casino